- Shopping, made easy.
- /
- Get the app!
Important instructions:
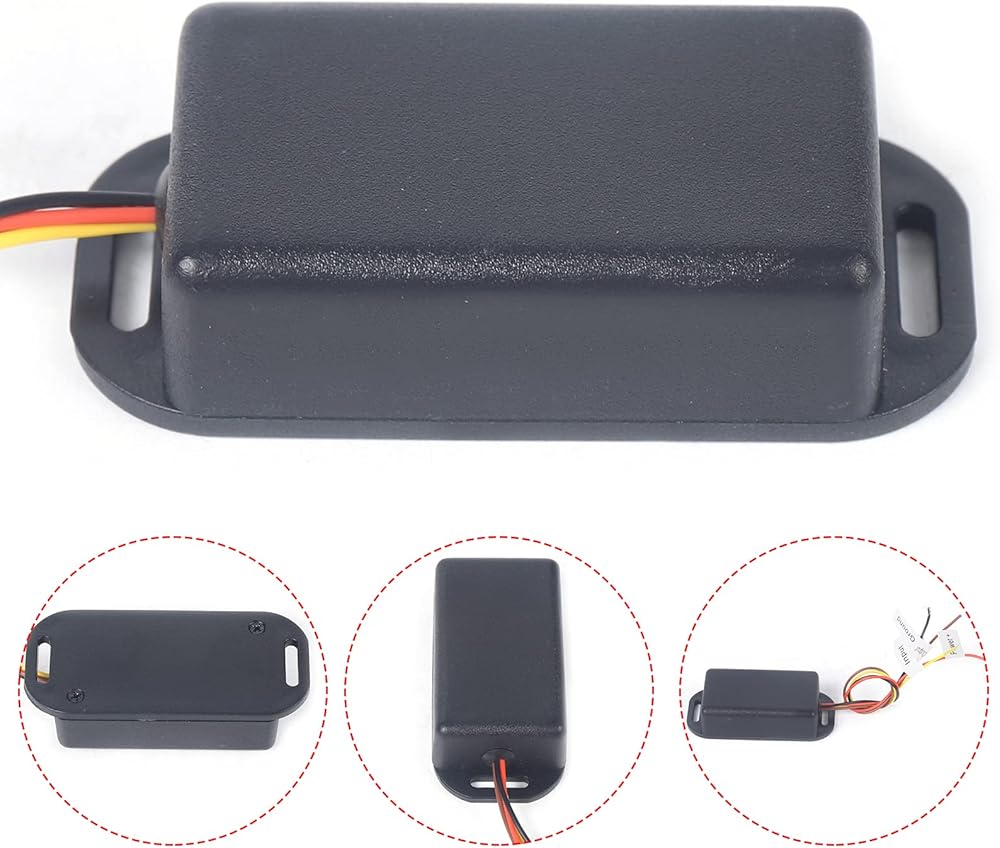
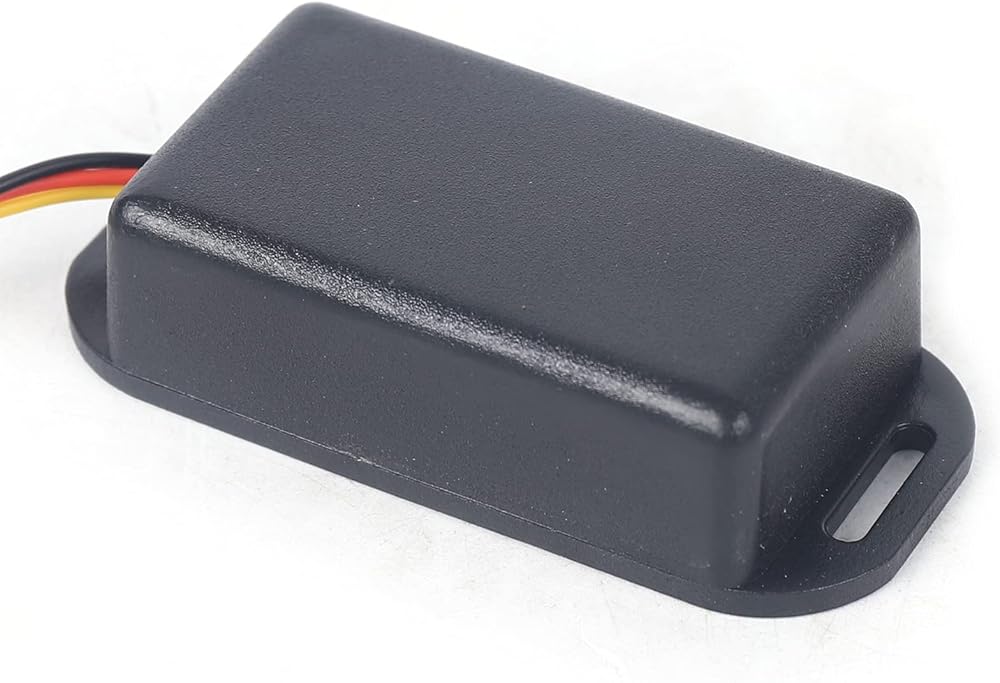
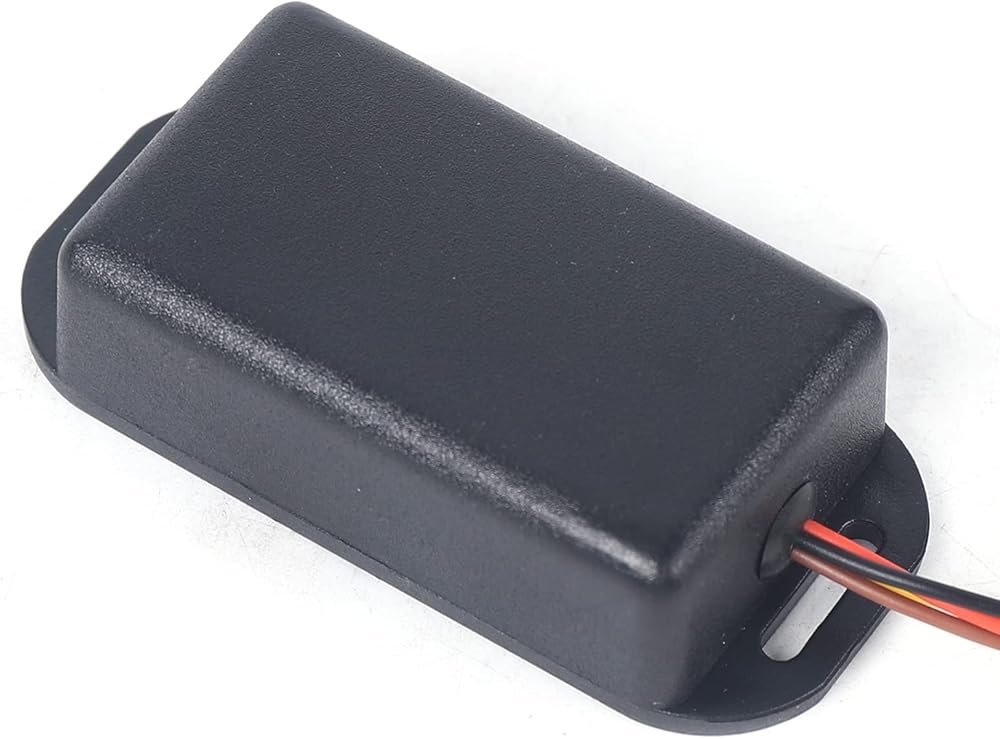
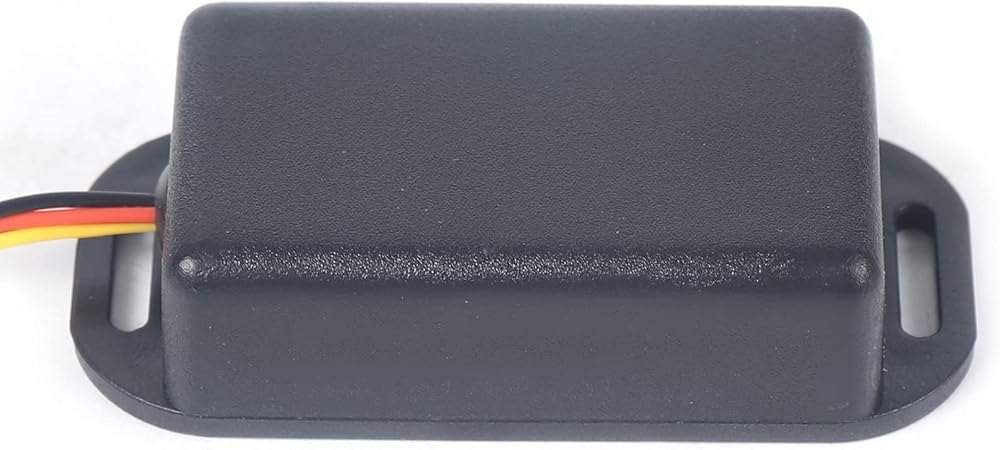
① Install the module in a clean, dry and cool place.
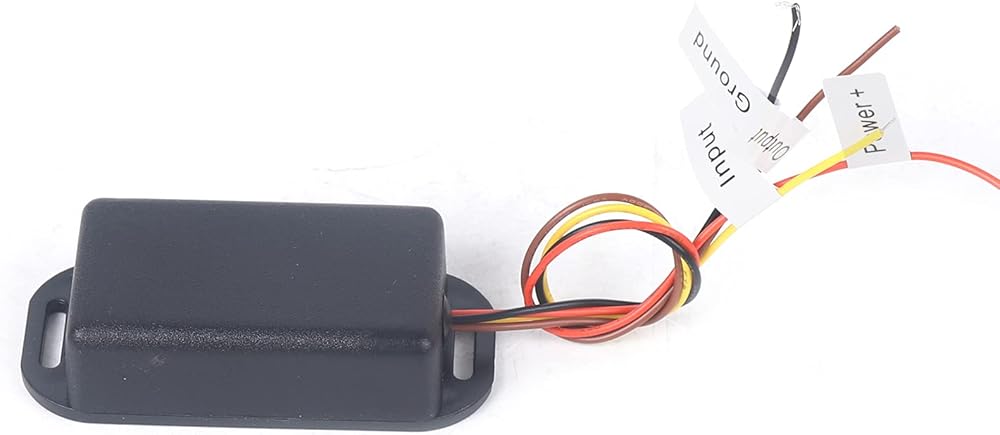
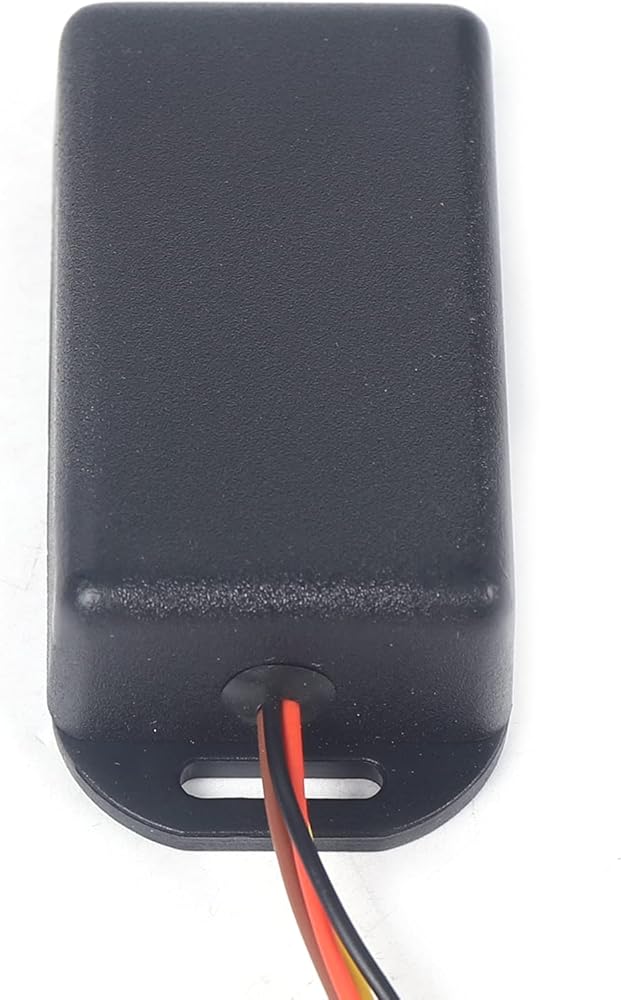
②Connect the wires as the guide photo above
③Using the storage mode, program and store Full, Half, Empty and "Power on" positions.
④Use the power-on mode to program how you want the instrument to operate when the car starts.
⑤ Run and check in the run mode.
⑥When adjusting the screw, move the pressure gauge from full to empty to avoid hysteresis error.
⑦Some meters move very slowly. Please wait for the time to stabilize.
⑧The tank sensor must have the same grounding as the FM101, otherwise it will cause unstable readings.
Store mode
①Turn off the power supply. Wait for 5 seconds. Press the "F" switch and turn on the power, then release the "F" switch.
②Only the red LED will light up
③Set the fuel resistance to the full position. Use the calibration screw to adjust the meter to full, press the "F" switch and then release it.
④Set the fuel resistance to 1/2 gear. Use the calibration screw to adjust the meter to gear 1/2. Press and release the "H" switch.
⑤Set the fuel resistance to Emptv. Adjust the meter to be emptied using the calibration screw. Press the "E" switch and release it.
⑥ Adjust the calibration screw to the position where you want gatne o when the car is started. (Usually this is the position of the pointer when the car is closed)
Press "E" and "F" simultaneously and then release.
 2-in-1 Universal Stroller Board, Buggy Child Board with Seat Removable Pedal Pushchair Wheeled Board
KWD 35
2-in-1 Universal Stroller Board, Buggy Child Board with Seat Removable Pedal Pushchair Wheeled Board
KWD 35
 -5%
MS-490 140dB Electric Siren, 110V 400W Air Raid Siren Horn Industry Boat Alarm High Decibel Alarm Horn Warning for Ships Mines Reservoirs Airports
KWD 28
-5%
MS-490 140dB Electric Siren, 110V 400W Air Raid Siren Horn Industry Boat Alarm High Decibel Alarm Horn Warning for Ships Mines Reservoirs Airports
KWD 28
 24 Inch Commercial Manual Precision Rotary Paper Trimmer Cutter,Heavy Duty,Smart Cut for Photo Paper, Film, Art Paper Jam, Office Paper, Thin Plastic Soft Board, PVC,Cutting Table 80x31.5cm
KWD 44
24 Inch Commercial Manual Precision Rotary Paper Trimmer Cutter,Heavy Duty,Smart Cut for Photo Paper, Film, Art Paper Jam, Office Paper, Thin Plastic Soft Board, PVC,Cutting Table 80x31.5cm
KWD 44
 Manual Heavy Duty 36 Inch Rolling Cutter Precision Rotary Paper Trimmer for Photo Paper, Film, Art Paper Jam, Office Paper, Thin Plastic Soft Board, PVC,Cutting Table,Professional Rolling Trimmer
KWD 69
Manual Heavy Duty 36 Inch Rolling Cutter Precision Rotary Paper Trimmer for Photo Paper, Film, Art Paper Jam, Office Paper, Thin Plastic Soft Board, PVC,Cutting Table,Professional Rolling Trimmer
KWD 69