Superior 3D Repair - Sculpt, modify, and patch resin 3d prints effortlessly. Precisely fills cracks and voids. Cures rock-solid in seconds under light for permanent, customized creations.
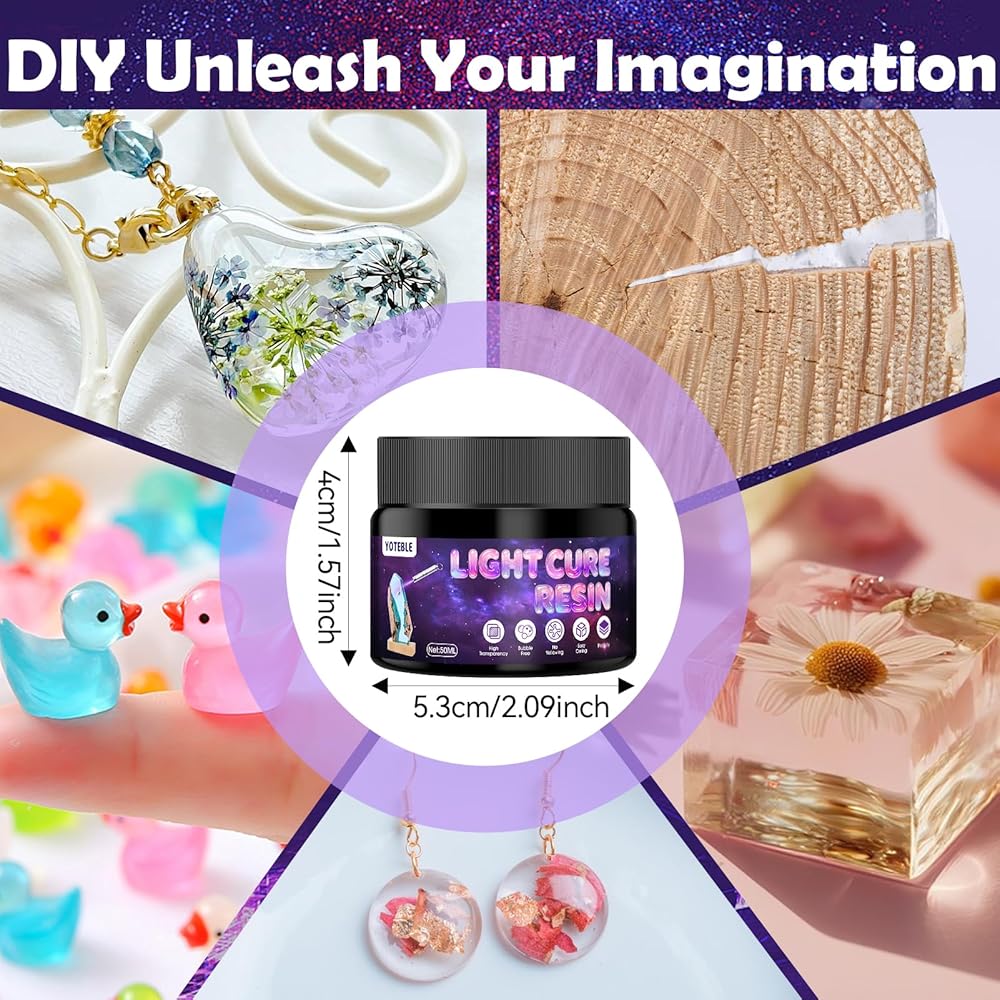
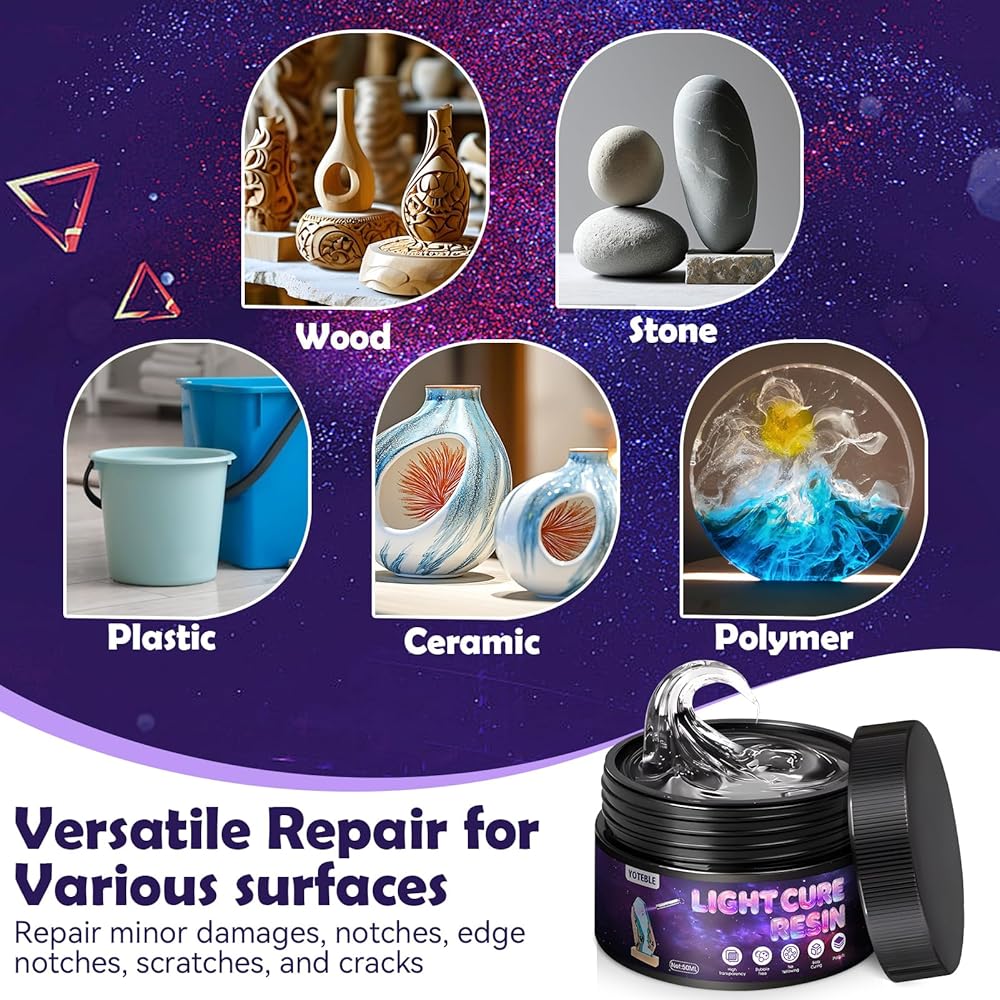
Versatile Repair - This resin curing putty precisely fill small gaps and cracks for finishing to restore the complete surface. Suitable for quickly repairing on quartz, granite, porcelain, plastic, wood, stone and more.
Usage Method: Just take out the amount of curing putty you need, add the color to the shape (or fill the gaps), and then use the light for 2-3 minutes until it hardens. Whether it's for repair or making handicrafts, our cure resin can meet your needs.
Instant Curing Technology – YOTEBLE resin curing can rapidly dry in 1-2 min in light, enabling fast and pinpoint repairs, simplifies the complex process of traditional repair.
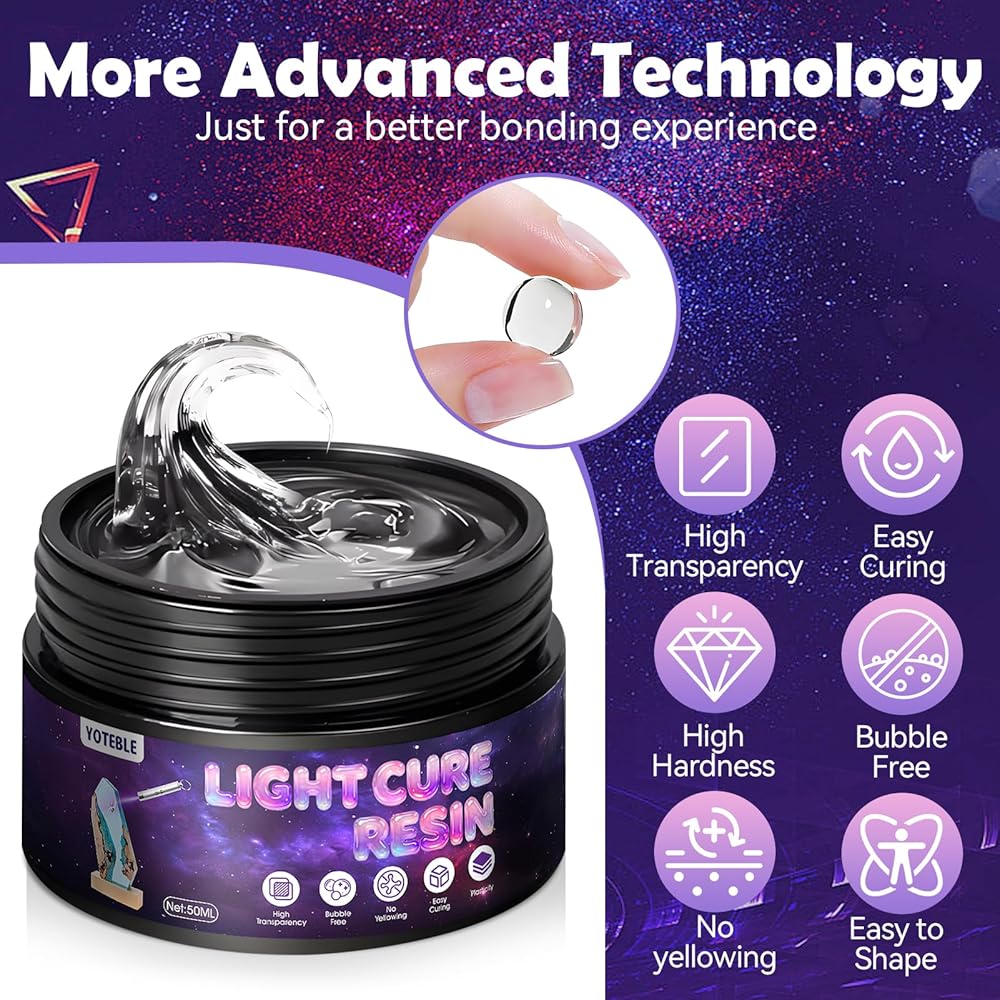
High Hardness and Strength Formula - YOTEBLE light curing putty achieves a hardness of 85D, and it won't break easily, making it ideal for repairing and detailing models.
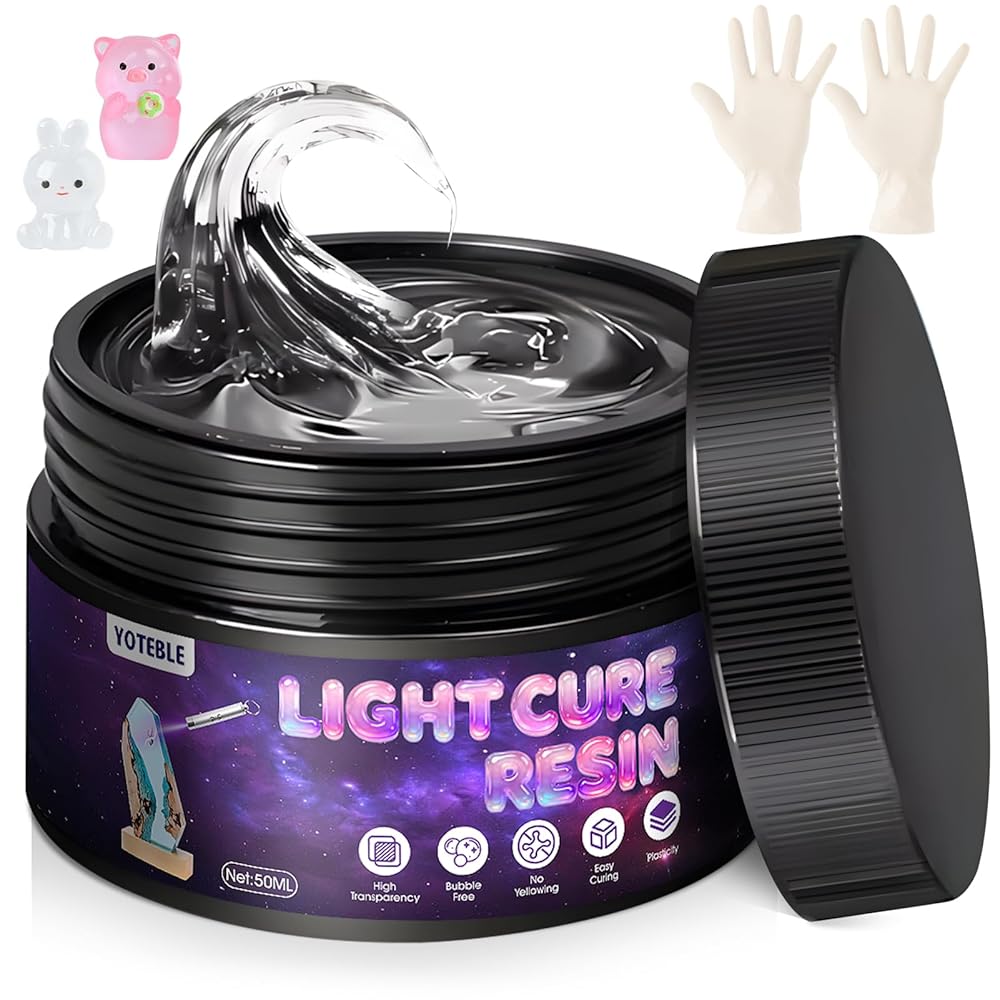
Perfect Light Curing Putty - Our 3D print high viscosity resin putty can meet various model customization needs. Because it can be applied and formed into any desired shape. After curing, it can be easily sanded and painted.
Description
YOTEBLE Curing Putty: Your Ultimate Repair & Creative Partner
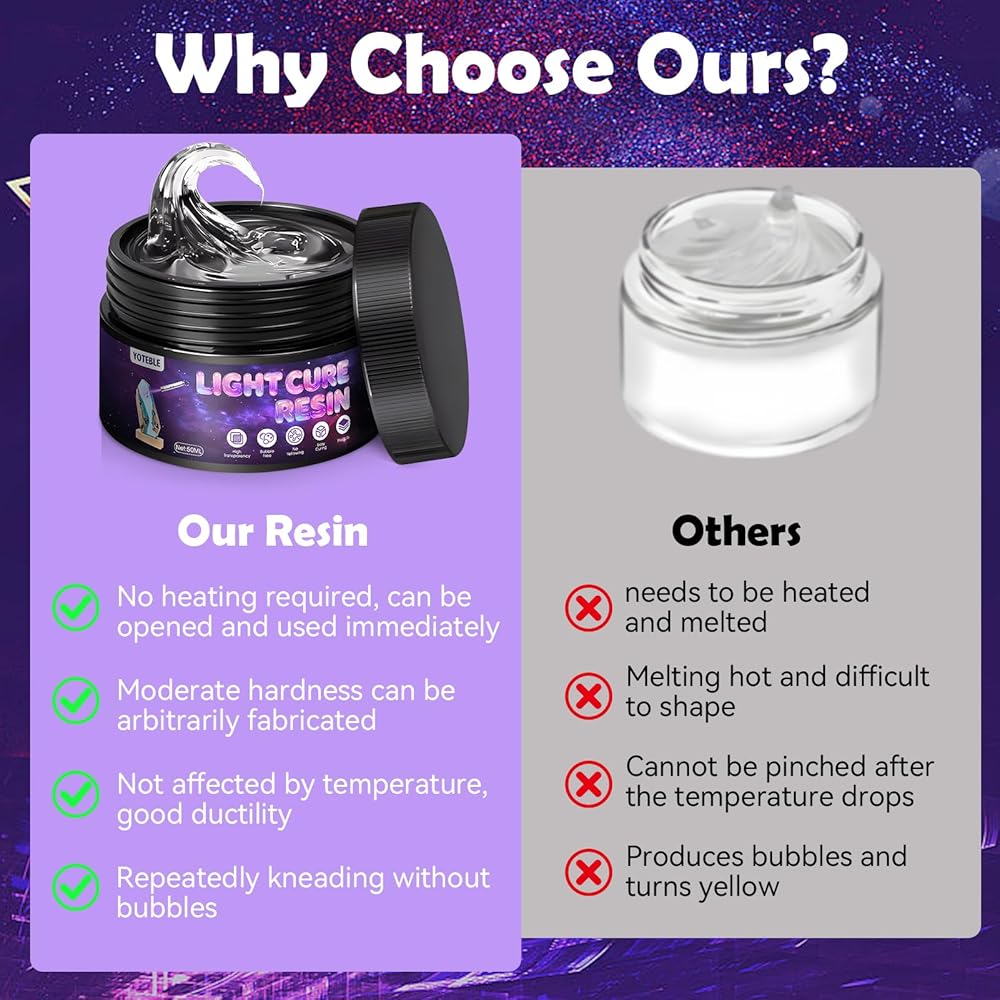
It's ready to use right out of the lid, eliminating the tedious mixing steps associated with traditional putty, making it simple and efficient to use. The cured repair layer can be easily fine-sanded and painted, achieving a seamless, finish. Designed specifically for small, delicate repairs, it significantly reduces work time and improves efficiency.
Why Choose YOTEBLE Light Curing Putty
Instant Fixes: Cures in 1-2 min under light.
Unbreakable 85D Hardness: 23% harder than average clays.
Sculpt Anything: Perfectly bonds to plastics, wood, metal – carve details, fill gaps, or build prototypes.
Applications & Users: 3D print repair | Model assembly/detailing | Sculpture crafting | Furniture/Nails
How to Use
1. Wear protective gloves and clean the model surface.
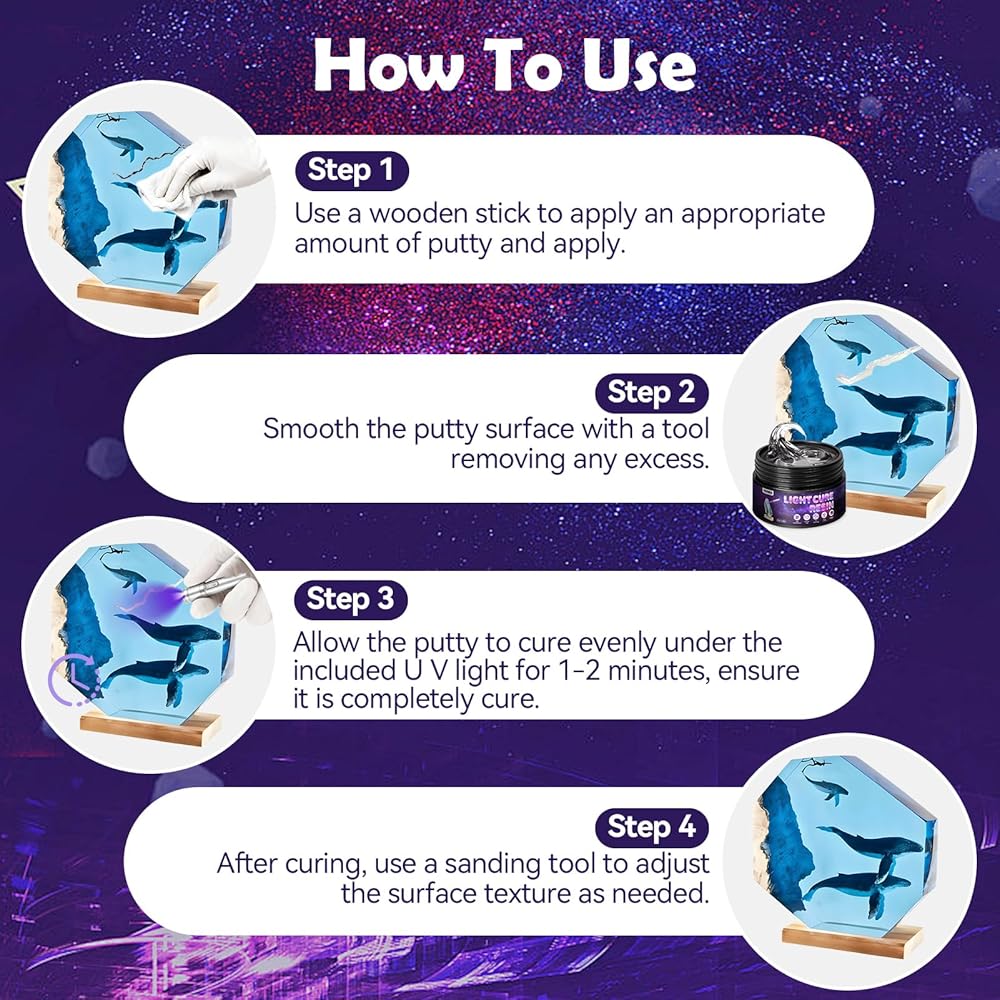
2. Use a wooden stick to apply an appropriate amount of putty and apply.
3. Smooth the putty surface with a tool, removing any excess.
4. Let the putty lighting for 1-2 minutes to ensure it is completely set.
5. After curing, use a sanding tool to adjust the surface texture as needed.
Note:
1. Avoid contact of uncured material with skin.
2. Wear gloves and goggles when handling.
3. Avoid direct sunlight before curing.
4. Store in a cool, dark place.


![Poster Strip [Set of 3] in Kuwait](https://cdn1.tilga.com/md/prod/3/3999/3/127687927.27365.jpg)