- Shopping, made easy.
- /
- Get the app!
How to install
1. Use a marker to mark the holes on the upper bracket
2. Use an electric drill to drill holes on the marks
3.Use 4 screws to secure the upper bracket(Tips: lf your Toy Hauler comes with an upper bracket,it does not need to be installed.)
4. Use a marker to mark the holes on the lower bracket
5. Use an electric drill to drill holes on the marks
6. Use 4 screws to secure the lower bracket
 -9%
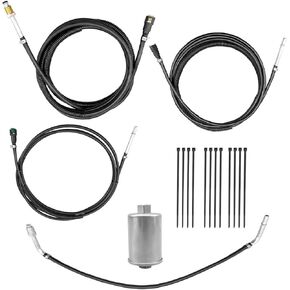
Nylon Fuel Line Kit Compatible with Chevy GMC Avalanche Suburban Yukon Escalade 2Wd 4Wd 5.3L 2000-2004 NFR0049
KWD 21
-9%
Nylon Fuel Line Kit Compatible with Chevy GMC Avalanche Suburban Yukon Escalade 2Wd 4Wd 5.3L 2000-2004 NFR0049
KWD 21
 89412-34010 EGR Valve Temperature Sensor Compatible with Toyota 4Runner Tacoma Pickup T100, Lexus SC300 SC400 LS400 Replaces 8941234010 ETS51 5S2029 SU5370
KWD 10.500
89412-34010 EGR Valve Temperature Sensor Compatible with Toyota 4Runner Tacoma Pickup T100, Lexus SC300 SC400 LS400 Replaces 8941234010 ETS51 5S2029 SU5370
KWD 10.500
 7812A100 Motor A/C Condenser Fan Compatible with Mitsubushi
KWD 13.500
7812A100 Motor A/C Condenser Fan Compatible with Mitsubushi
KWD 13.500
 Exhaust Back Pressure Sensor Tube EBP Sensor with Wire Harness Compatible with Ford F250 F350 7.3L 1999-2003 Powerstroke Diesel 1850353C1 1C3Z-9D477-AA
KWD 9
Exhaust Back Pressure Sensor Tube EBP Sensor with Wire Harness Compatible with Ford F250 F350 7.3L 1999-2003 Powerstroke Diesel 1850353C1 1C3Z-9D477-AA
KWD 9


